Installation
To use the new ZoomX client on your Windows or macOS device, you must first download it. You can do this from the Download Center on the Zoom website. Then select the client that matches your operating system. After the download is complete, you will find the setup file in your Downloads folder.
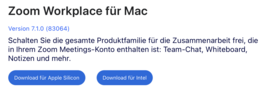
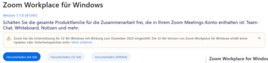
Now run the downloaded setup file to begin the installation. On Windows devices, the installation will run automatically. On macOS devices, the installation wizard will guide you through the process.
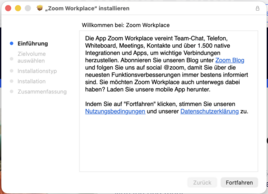
Once the installation is complete, you can open the client to log in.
Click “Log In” and enter your university email address (vorname.nachname@uni-siegen.de). Alternatively, click “Confirm SSO” below the input field and then click “Next.”
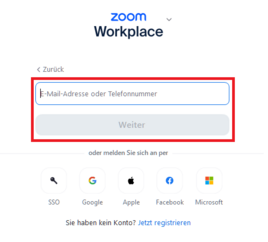
Note: The email address stored in Shibboleth is “@uni-siegen.de” for every user. Departmental email addresses do not work here!
In the next step, enter your ZIMT ID and the corresponding password.

You will then be prompted to enter your two-factor authentication. Select the appropriate token type from the bar to complete the login.

Once you have successfully logged in, your Zoom home screen will appear.
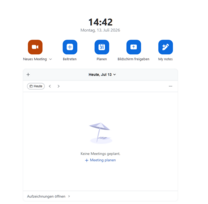
To use the ZoomX app on your iOS or Android mobile device, first download it from your device's App Store.
Then, tap “Sign In” in the app to begin setup.
Now enter your university email address (vorname.nachname@uni-siegen.de) and confirm by tapping “Next.”
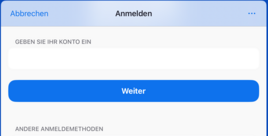
In the next step, enter your ZIMT ID and the corresponding password.
You will then be prompted to enter your two-factor authentication. Select the appropriate token type from the bar to complete the login.
Once you have successfully logged in, your Zoom home screen will appear.
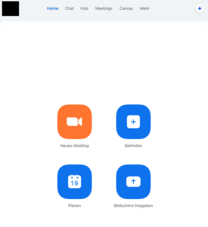
To use ZoomX on your Linux device, first download the DEB installation file from the Download Center on the Zoom website.
Now open your terminal and enter the following command to navigate to your downloads directory:
cd Downloads/
To view the files in the directory, enter this command:
ls -l
To install the file, enter the following command:
sudo apt install ./zoom_amd64.deb
Enter your password and press Enter to confirm.
The installation will now run automatically. Then open the client to log in.
Click “Log In” and enter your university email address (vorname.nachname@uni-siegen.de). Alternatively, click “SSO” below the input field and confirm by clicking “Next.”
Note: The email address stored in Shibboleth is “@uni-siegen.de” for every user. Departmental email addresses do not work here!
In the next step, enter your ZIMT ID and the corresponding password.
You will then be prompted to enter your second factor. Select the appropriate token type from the bar to complete the login.
Once you have successfully logged in, your Zoom home screen will appear.
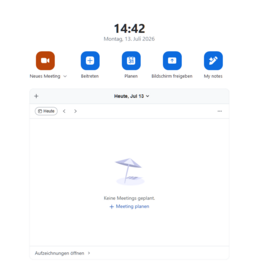
Zoom Plugins
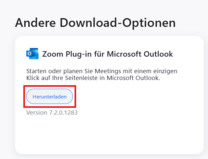
To create Zoom meetings directly in Outlook, you must first download the Zoom plugin. To do this, open the Zoom Download Center and scroll down to the "Other Download Options" section. There, you can download the "Zoom Plugin for Microsoft Outlook" by clicking the button.
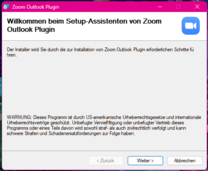
Next, run the downloaded file to launch the setup wizard. The wizard will then guide you through the process.
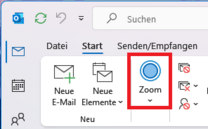
After installation, restart Outlook once. Once restarted, the“Zoom” tab should appear in your menu bar. Here, you can now create a meeting in Zoom by clicking the“Schedule a Meeting” button.
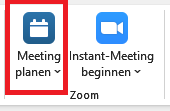
If you’re already logged in to Zoom, you’ll be redirected immediately. If you’re not logged in yet, you’ll need to log in before you can schedule a meeting.
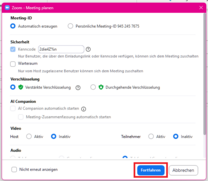
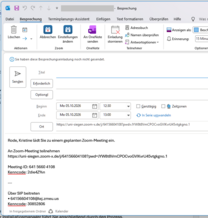
An Outlook window and a Zoom window will now open. In the Zoom window, you can edit the meeting settings. By clicking“Continue,” you can then send the email with the meeting information directly to the relevant people from the Outlook window.
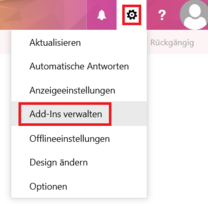
To schedule a Zoom meeting via Webmail, you must first install the Zoom add-in. To do this, open Webmail and log in. Then open the settings (gear icon) and select the"Manage Add-Ins" option.
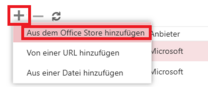
Now click the “+” icon and then“Add from the Office Store.” You’ll then be redirected to a new page.
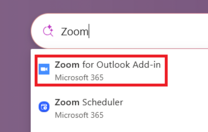
On the next page, use the search bar to find and select the“Zoom for Outlook Add-in.”
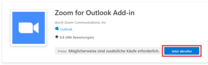
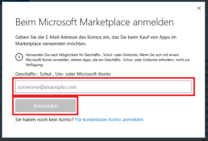
Click“Get it now.” Then enter your university email address and confirm by clicking“Sign in.”
In the next step, review your information and confirm again by clicking“Get it now.”
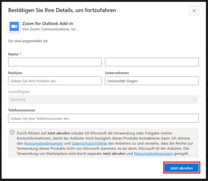
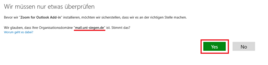
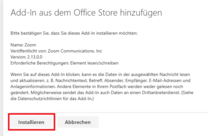
Then confirm the organizational domain prompt by clicking“Yes.” And confirm the subsequent installation prompt by clicking“Install.”
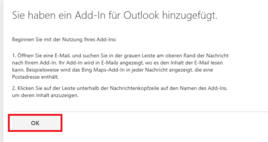
With one final click on“OK,” the installation is now complete, and you can open your Outlook calendar.
You should now see a Zoom button in your Outlook calendar. If you can’t find this button, you may need to close your browser and reopen it.
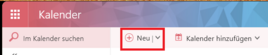
To schedule a Zoom meeting, click“New” in the calendar view.
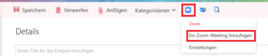
In the next window, click the Zoom icon and select the option“Add a Zoom meeting.”
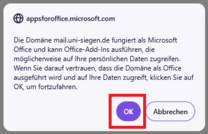
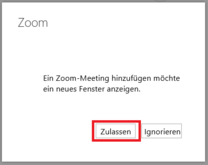
You will then be prompted to log in to Zoom. To do this, confirm the first pop-up with “OK” and then click“Allow” in the next pop-up.
In the login window, select“SSO” to be redirected to the university’s login page.
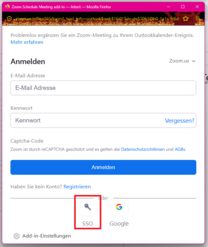
Then log in as usual with your ZIMT account and your two-factor authentication. After logging in, you can now set up the meeting via Webmail.