
Instructions
To set up your Outlook account (as part of the Office suite or as a standalone version), first open the client. If you haven't set up an Outlook account yet, a window should open automatically prompting you to do so.
Enter your email address there and click“Advanced Options.” Check the box next to“I want to set up my account manually.”
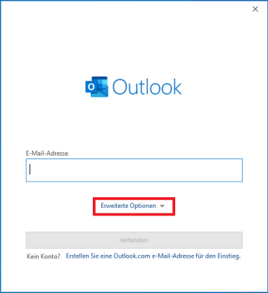
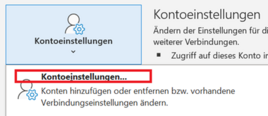
If you’ve already set up an Outlook account, you can click“Add Account” under“File.” The same window will then open.
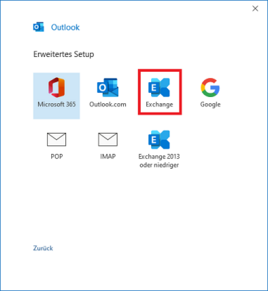
In the next step, select the“Exchange” option.
When prompted for your password, enter your ZIMT username followed by “+@uni-siegen.de”(e.g., g1234565@uni-siegen.de) and your ZIMT password.
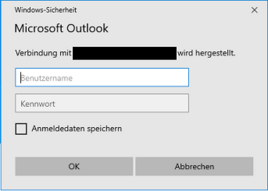
Note: If your email address is entered here under “Username,” you can manually enter your login credentials via “Additional Options.” Please make sure that the username matches the format shown above.
Now confirm by clicking“Next.”
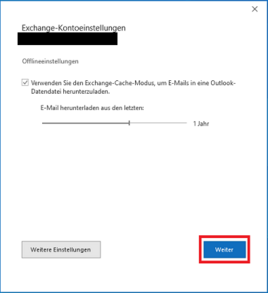
Once your account has been successfully set up, this window will appear. Finally, confirm by clicking“Process Complete.”
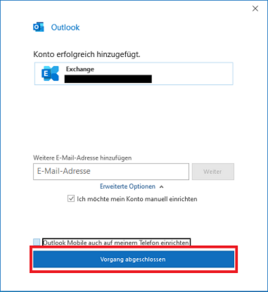
This completes the account setup.
If you haven’t set up an Outlook account yet, the client will prompt you to do so the first time you use it.
Otherwise, you can set up a new account in Microsoft Outlook as described here. To do so, first open the Outlook client. You can now add a new account via the“Tools” tab under“Accounts.”

Alternatively, you can access“Accounts” via the“Tools” drop-down menu.
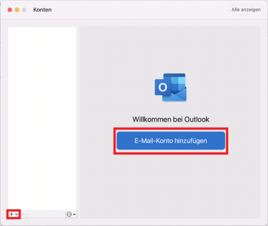
In the new window, click“Add Email Account” or the “+” icon in the lower-right corner of the window.
In the next window, you can enter your email address and confirm by clicking“Next.”
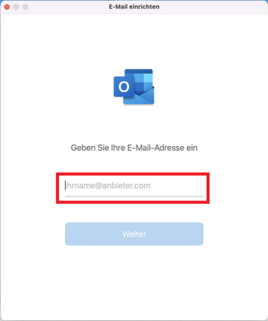
The system will attempt to automatically find the corresponding mailbox and the appropriate transfer protocol based on the email address you entered. If this does not work, you can select the “Exchange” option yourself by clicking “Select another service provider.”
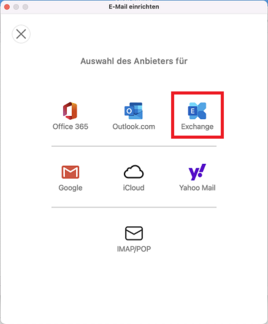
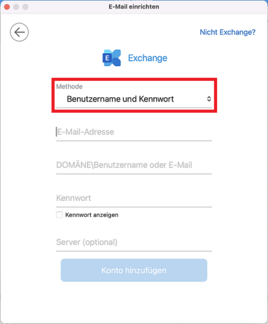
Next, enter your username +@uni-siegen.de (e.g., g123456@uni-siegen.de) and your password for the email address you already entered. Optionally, you can also enter the server
mail.uni-siegen.de. Then confirm by clicking“Add Account.”
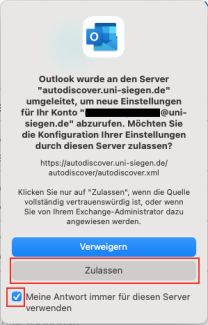
If a server prompt appears (see image below), check the box next to “Always save my response for this server” and confirm by clicking “Allow.”
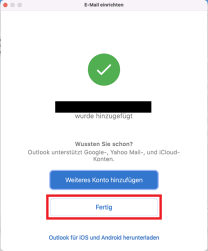
Once the account has been successfully set up, the following window will appear. Click“Done” to confirm.
This completes the account setup. You may need to restart Outlook to apply the changes.
To add an Exchange account to Gmail, open the app and then go to Settings.
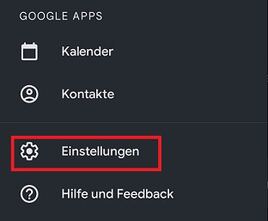
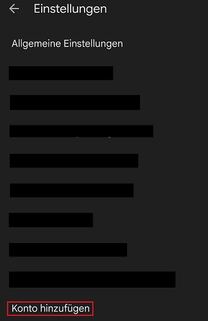
Here, under“Add account,” you can set up a new account.
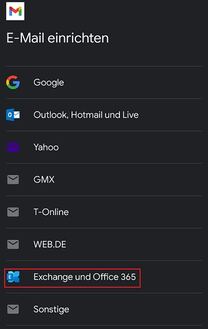
In the next step, you can now set up your account. Select the“Exchange and Office 365” option.
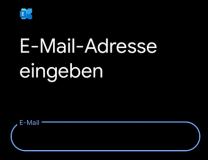
Then enter your email address and select the“Set up manually” option.
Now enter your password. In the server settings, enter your username +@uni-siegen.de (e.g., g123456@uni-siegen.de) and the server “
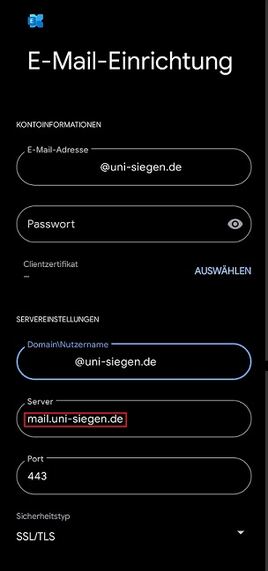
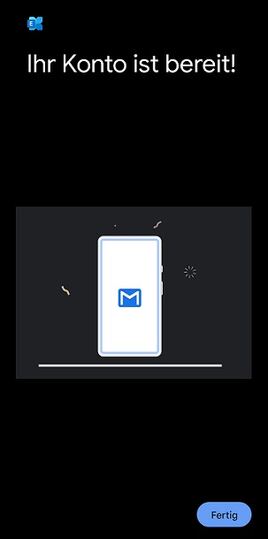
After entering the correct login credentials, the following screen will appear. Click“Done” to complete the process.
To add an account to Apple Mail, first open the client.
If you haven’t added an email account to Apple Mail yet, the client will prompt you to do so when you open it.
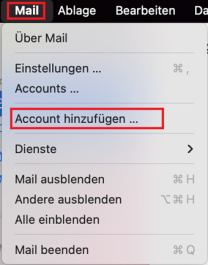
Otherwise, after opening the client, select“Mail” from the taskbar and then“Add Account.”
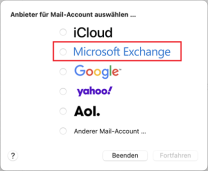
Now select the“Exchange” provider and confirm by clicking“Continue.”
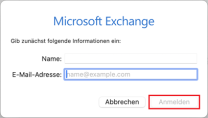
In the next step, you’ll begin the setup process. To do this, first enter your university email address and confirm by clicking“Sign In.”
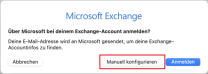
A prompt will then appear. Select the“Configure manually” option to set up your account manually.
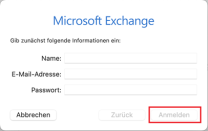
You will then be prompted to enter your password.
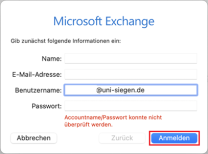
In the next step, in addition to your email address and password, enter your Benutzerkennung@uni-siegen.de (e.g., g123456@uni-siegen.de). Then confirm by clicking“Sign In.”
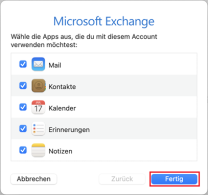
Finally, you can select what should be synced. Click“Done” to complete the process.
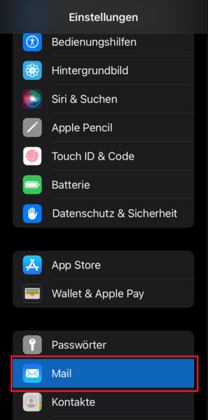
To add an account to Apple Mail on your iOS device, open your System Settings and select the "Mail" option.
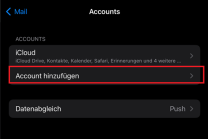
In the“Mail” menu, select the“Accounts” option. Then open the setup by tapping“Add Account.”
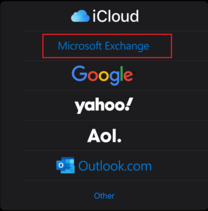
You will now be asked what type of account you want to add. Select“Microsoft Exchange.”
In the next step, enter your university email address. Confirm by clicking“Next.”

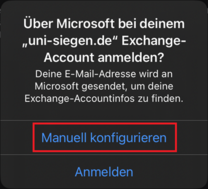
You will then be asked if you want to configure your account manually. Click“Configure manually.”
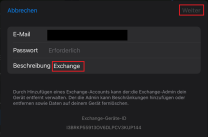
Enter your email address again, along with your corresponding password. Click“Next” to confirm.
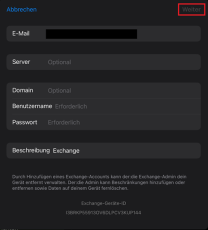
In the next window, you’ll be prompted to configure your account. Enter your university email address, your username +@uni-siegen.de (e.g. , g123456@uni-siegen.de), and your password. Under“Server,” enter
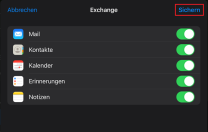
Finally, you can select which modules should be synchronized and confirm by clicking“Save.”
Download and Installation
You can download the Mozilla Thunderbird client here:
Click the“Download” button to download the version that matches your system settings.
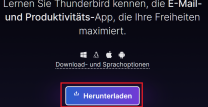
You’ll then find the setup file in your Downloads folder.
Run the setup file to launch the installation wizard and click“Next” to confirm.
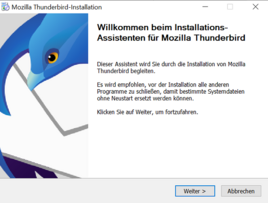
In the next window, select the“Standard” installation type and click“Next” again.
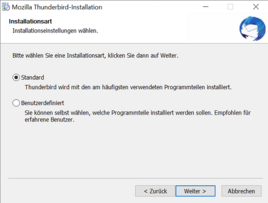
You can then, if desired, select the installation location and confirm by clicking“Install.”
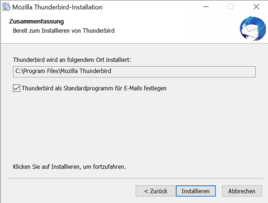
Finally, click“Finish.”
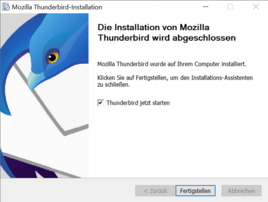
Thunderbird should now open, and you can begin the setup process.
Setup
Under“Set up an existing email address,” enter your name, your ZIMT email address, and your password, then click“Set up manually.”
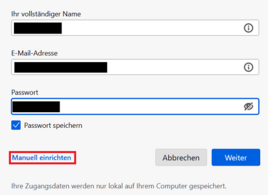
Complete the manual setup as follows:
- Incoming mail server:
- Protocol: IMAP
- Hostname:
- Port: 993
- Connection security: SSL/TLS
- Authentication method: Password, normal
- Username: Username +@uni-siegen.de (g123456@uni-siegen.de)
- Outgoing mail server:
- Hostname:
- Port: 587
- Connection security: STARTTLS
- Authentication method: Password, normal
-
Username: Username +@uni-siegen.de (e.g., g123456@uni-siegen.de)
- Hostname:
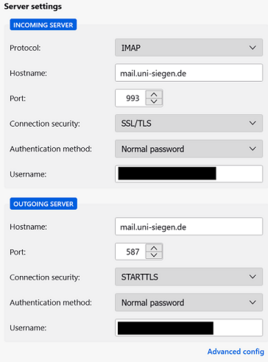
Check your information and confirm by clicking“Done.” After successfully logging in, the following message will appear:

