Instructions
To use the new ZoomX client on your Windows or macOS device, you must first download it. You can do this from the Download Center on the Zoom website. Then select the client that corresponds to your operating system. After the download is complete, you will find the setup file in your Downloads folder.


Now run the downloaded setup file to begin the installation. On Windows devices, the installation will run automatically. On macOS devices, the installation wizard will guide you through the process.
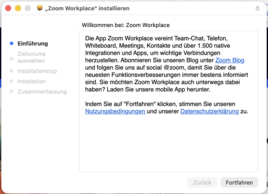
Once the installation is complete, you can open the client to log in.
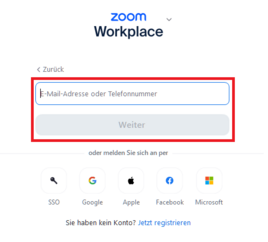
Click “Log In,” enter your university email address, and confirm by clicking “Next.”
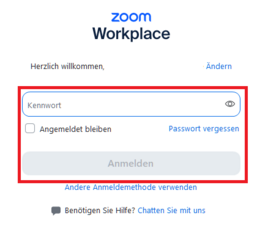
In the next step, enter your password and confirm by clicking “Log In.”
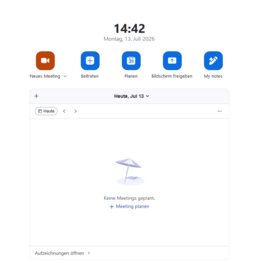
Once you’ve successfully logged in, your Zoom home screen will appear.
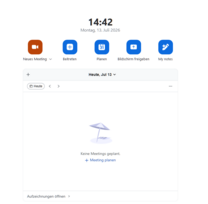
To use the ZoomX app on your iOS or Android mobile device, first download it from your device's app store.
Then, tap “Sign In” in the app to begin setup.
Now enter your university email address and confirm by tapping “Next.”
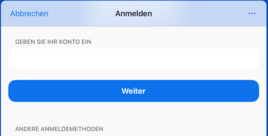
In the final step, enter your password and confirm by tapping “Sign In.”

Once you’ve successfully logged in, you’ll see your Zoom home screen.
To use ZoomX on your Linux device, first download the DEB installation file from the Download Center on the Zoom website.
Now open your terminal and enter the following command to navigate to your downloads directory:
cd Downloads/
To view the files in the directory, enter this command:
ls -l
To install the file, enter the following command:
sudo apt install ./zoom_amd64.deb
Enter your password and press Enter to confirm.
The installation will now run automatically. Then open the client to log in.
Click“Log In,” enter your university email address, and confirm by clicking“Next.”
In the next step, enter your password and confirm by clicking“Log In.”
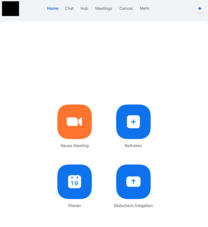
Once you’ve successfully logged in, your Zoom home screen will appear.